A Nameserver is a specialized server on the Internet that handles queries or questions from your local computer, about the location of a domain name's various services.
Example:
NS1.YOUR-DOMAIN.COM
NS2.YOUR-DOMAIN.COM
A simple way to think about Nameservers is using a phone book analogy. If you were trying to call NeroNext.com you might have remembered our phone number, but more than likely you'd want to look it up before just guessing at numbers. This same story is also true for the Internet and domain names. As an example you're reading this article right now on our NeroNext.com domain name.
Here at NeroNext.com, we allow customers that registered domain names through us to register their own nameservers free of charge. (Example savings, some registrars can charge as much as $200/month!!)
This tutorial gives a simple step by step on how to setup your own Nameservers 'if' your domain name has been registered through NeroNext. If your domain name is registered externally, say with Enom, or Network Solutions, Godaddy, Cloudflare or some other external registrar, the steps are 'mostly' the same except for the various menus (and additional cost and TIME) you will need to navigate in those systems to add your 'glue records' to register your NS1 & NS2. We highly recommend registering a brand new domain with us to make this as simple as possible for you and your customers!
In the steps below, we’ll show you how to register nameservers using a domain registered with NeroNext.
1) Login to the NeroNext Platform.
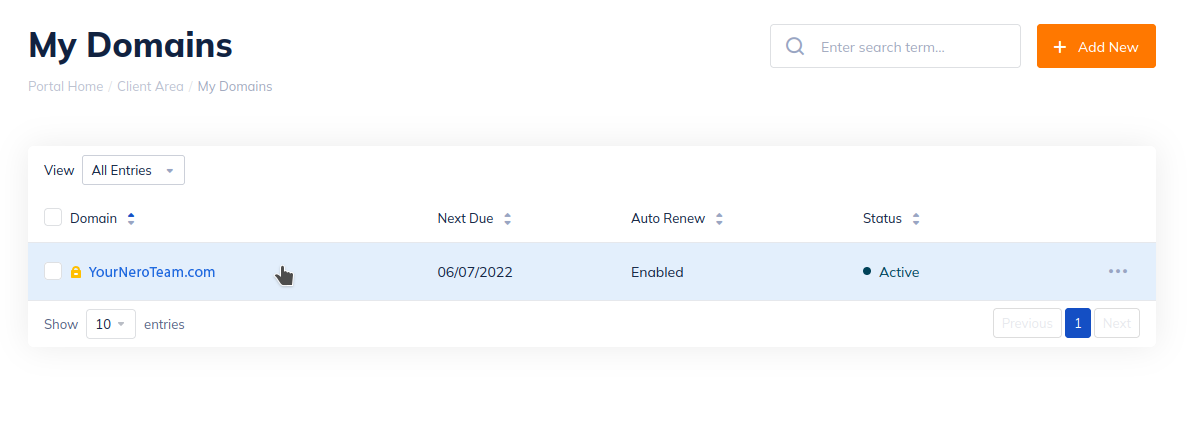
2) Click the Domains button.
3) On the far right of the domain you wish to use, click the "3 dots", then click 'Manage Domain':
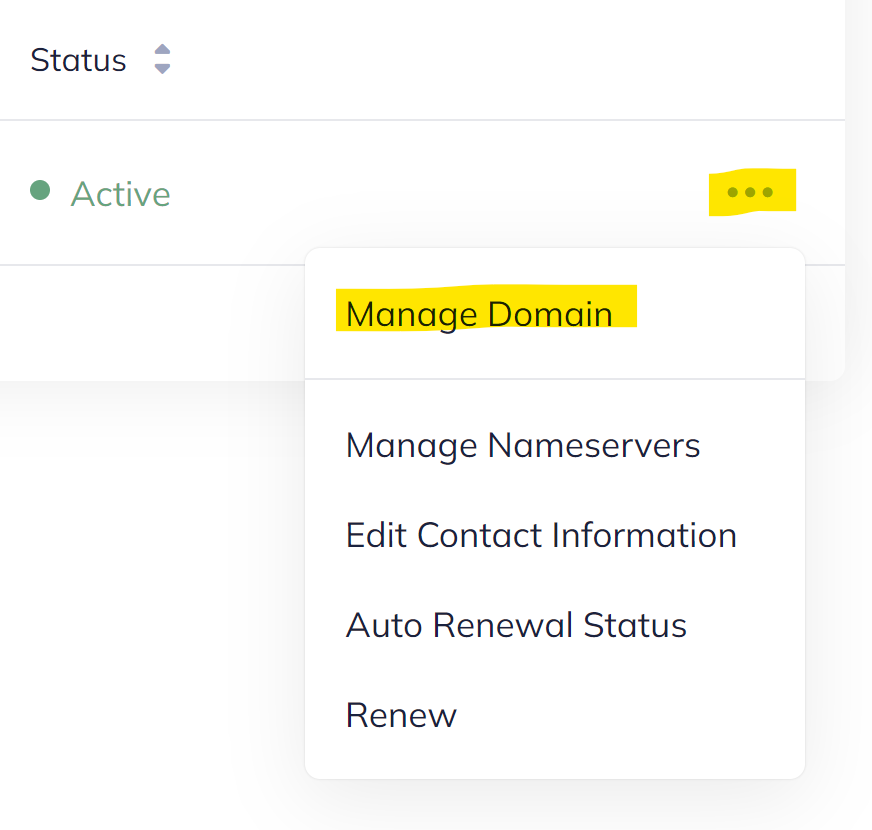
_In this example, we're going to select YourSupportNero.com._
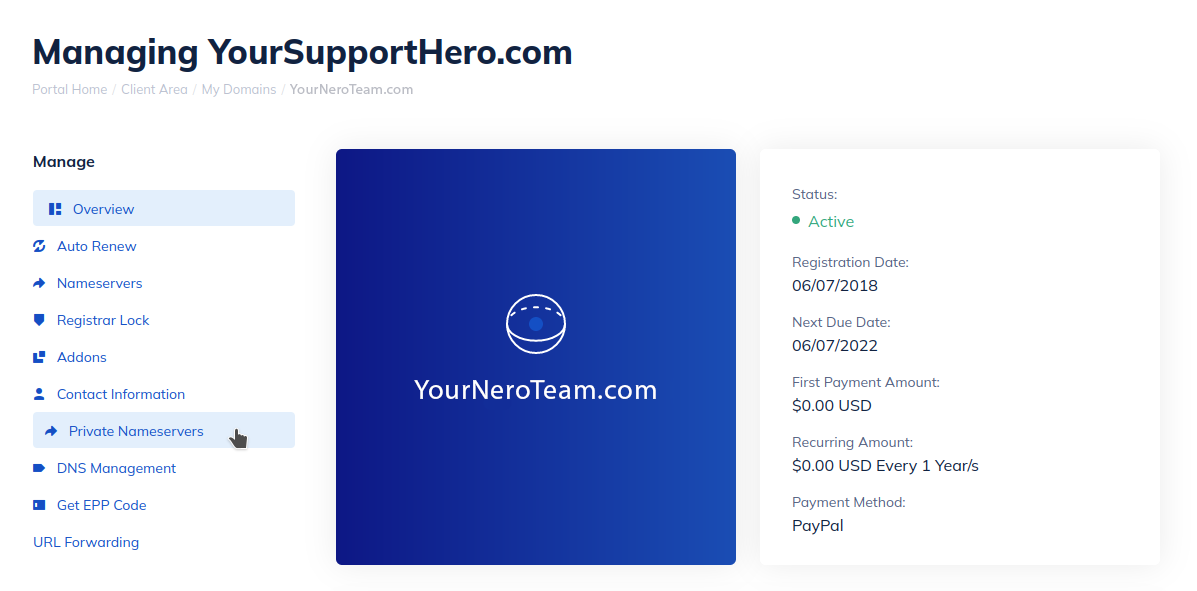
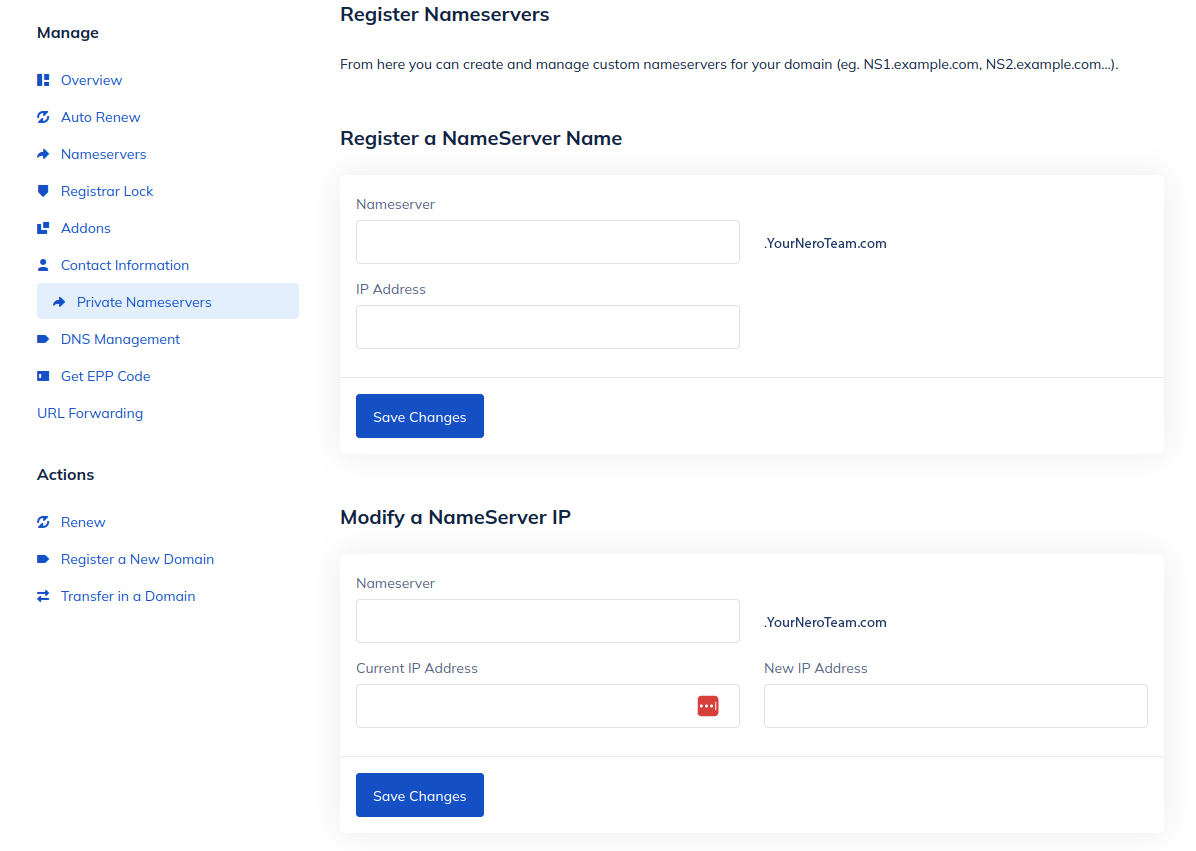
4) On the domain management page, click Private Nameservers on your left.
5) On the next page, fill out the fields with the NS1 where it says Nameserver and the corresponding IP address below. After you submit it for the NS1, do it again for NS2 and the corresponding IP address. You can obtain the correct IP addresses for your account in your client area under My Cloud > My Services then click on appropriate plan. Click Save Changes once complete.
_Nero tip: You can always come back to this page to manage NameServers that you've already registered._
6) IMPORTANT: Once you have registered your Nameservers you will now need to login to your whm/cpanel account and use the Zone Editor to 'also' add the respective NS1 & NS2 'A' records corresponding to the IP addresses you used in step 5.
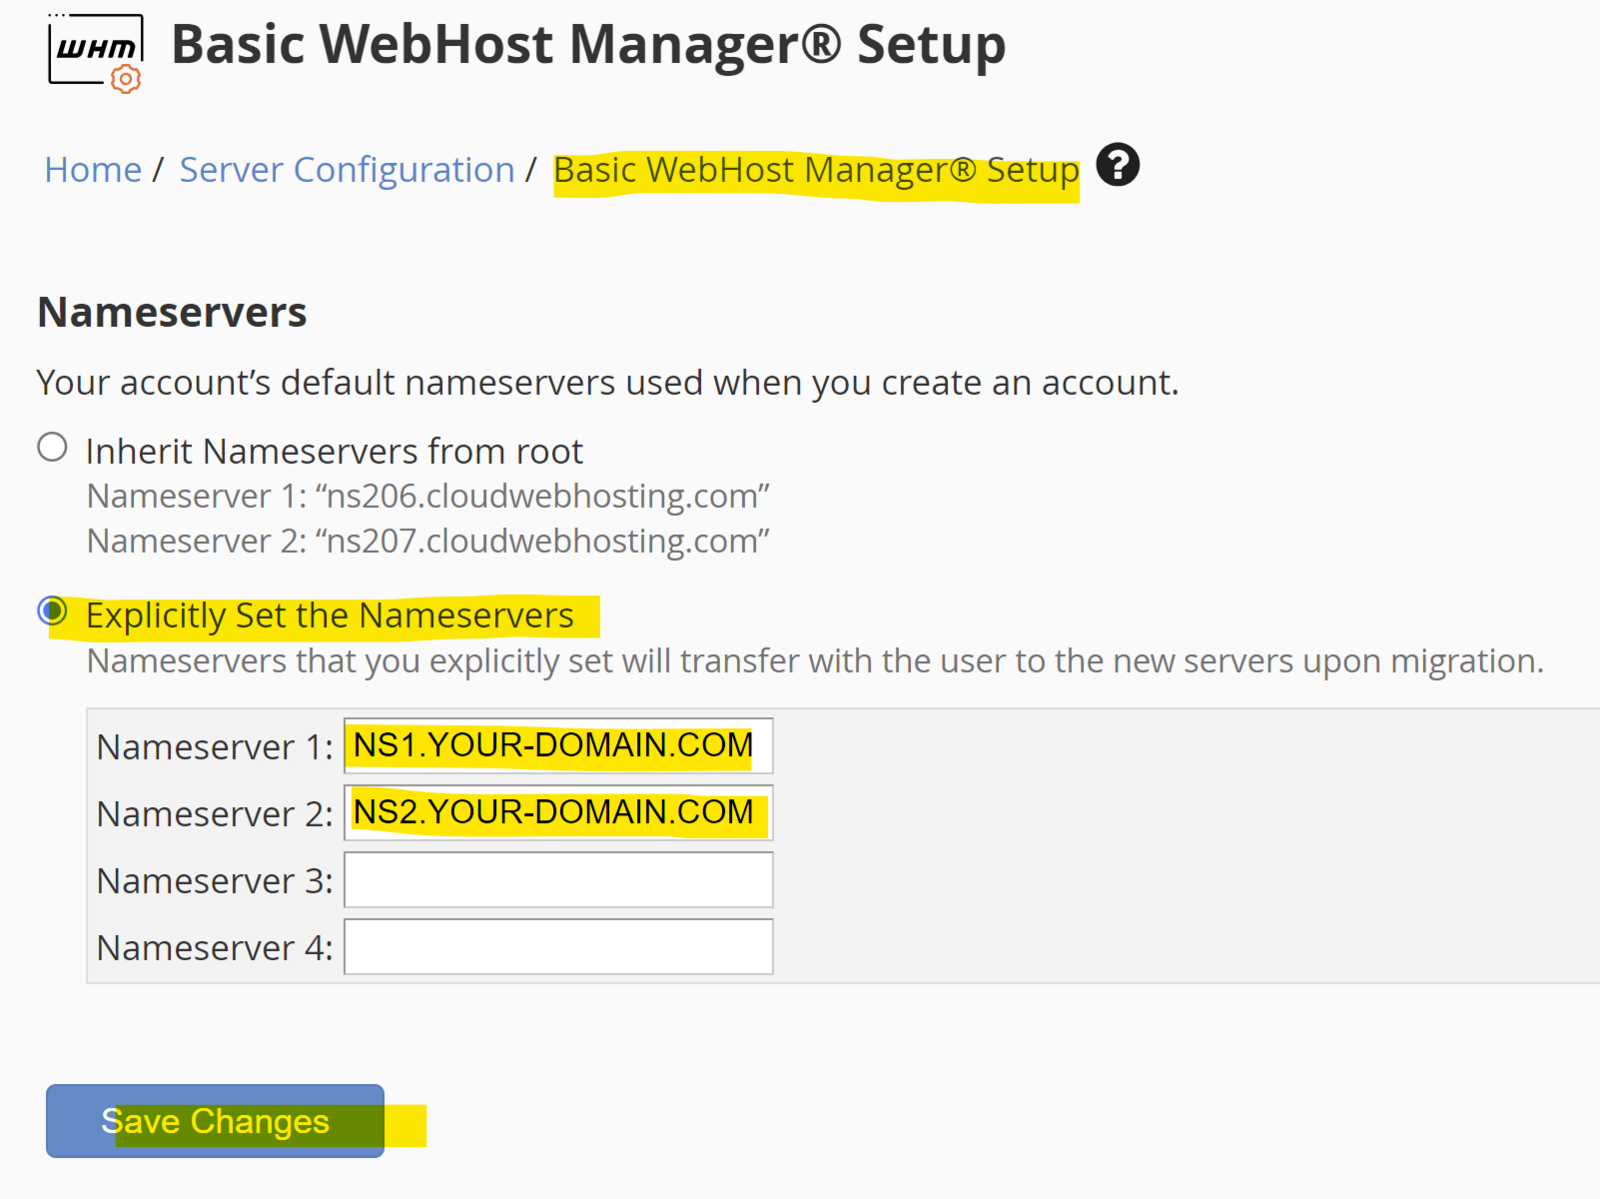
7) While you are in the WHM you will also need to click on the Basic Webhost Manager Setup (top left) and toggle Explicitly Set the Nameservers. Enter in your new NS1.YOUR-DOMAIN.COM & NS2.YOUR-DOMAIN.COM and click Save Changes:
Once your Nameservers are registered and assigned to a domain, you can verify they are working properly by checking the domain with IntoDNS Tool.
Once you have successfully registered your custom Nameservers, you can freely give your clients your NS1.YOUR-DOMAIN.COM & NS2.YOUR-DOMAIN.COM to point their domains at their respective account under your reseller account.
Here at NeroNext we want our resellers to be successful! If you have any problems or issues setting up your private nameservers, please reach out to our support staff 24x7x365 and we can take care of this for you! (much faster support if your domain is registered with NeroNext!)