Using private name servers means your customers will input your name servers into their domains to link them to your hosting.
Example, instead of ns1.neronext.com & ns2.neronext.com you can use ns1.YOUR-DOMAIN.com !
This tutorial will cover how to configure white label name servers using your domain name registered with NeroNext.
For this tutorial we will assume the domain is new and registered with NeroNext.
STEP 1: Login to your NeroNext Client Portal. Find the domain and click on the 3 dot menu to the right and click on Manage Domain.

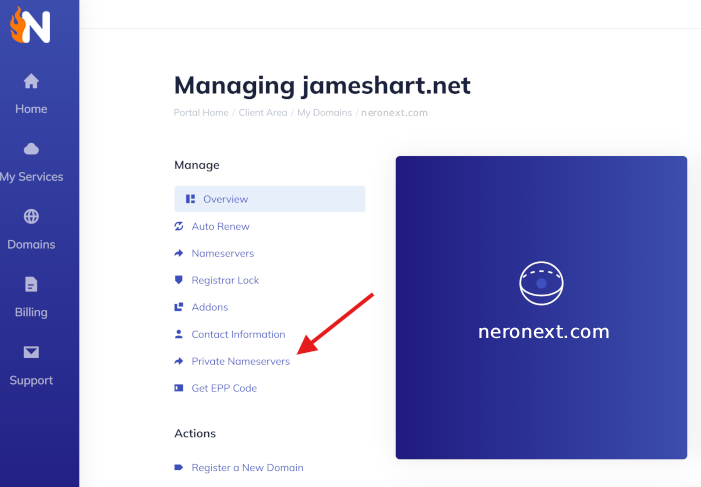
STEP 2: Now click on Private Nameservers!
STEP 3: Check your setup email for your VPS or Reseller Account. It will have the associated correct IP addresses to enter here. Or ask a tech in our 24/7 Live Chat! You'll want to have those IP addresses handy at this point. You'll be adding NS1 and NS2 with the associated IP addresses here! Do one at a time. In this example, I already did the first NS1 and am adding the second NS2 record.

STEP 4: Login to your cPanel account, use the Zone Editor to add 2 A records associated with those NS1/NS2 records we just added...

If you would like one of our NeroNext techs to do this for you, please either open a ticket or reach out to us via live chat!